Monday, March 28, 2016

"Cheeeese!" Ways to Use Student Photos in Your Classroom


During the first days of school I am almost like paparazzi to my students. I’m sure they wonder why their new teacher is taking pictures of them when they don’t even know my name, but I still click away!


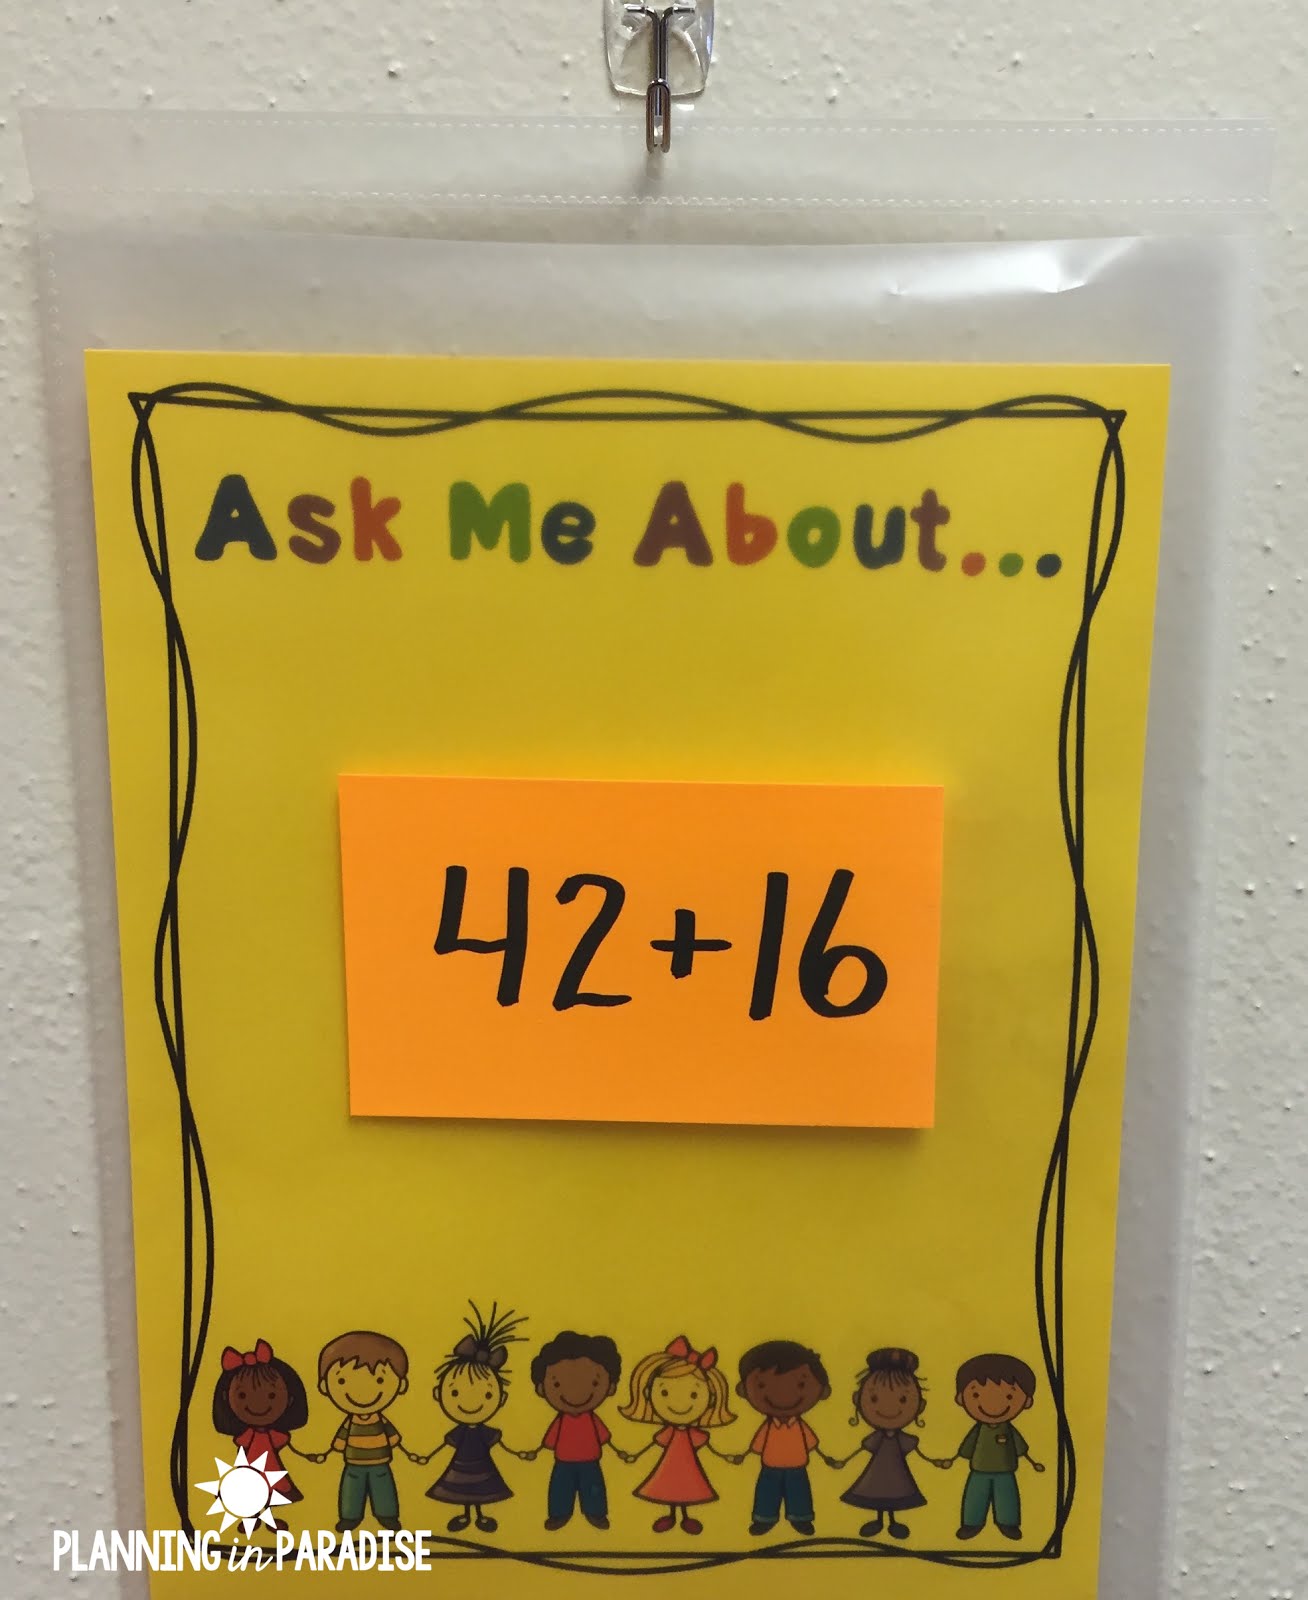
Strange happy lady... snapping head shots... saying.... “Smile! Look happy... mommy will be here soon!” This is something super easy that you can even implement at any time during the year, but will make a big difference in student learning and organization. 


WORD WALL
Some of our first lessons are learning our names in print and reading others names in our class. We build our word wall throughout the year, so what a great first addition to the wall. This is a large white magnetic board in the back of my room. This year I have 2 large white boards but even when I only had one, I use it for a word wall! It is important to me to have an interactive word wall that students can read and touch at any time of the day. I allow the students to organize the names so they are learning how the word wall works. Each sentence strip is laminated and I add magnetic tape to the back as well. We use them a lot to take to our tables when we are writing or even sorting activities. 

   STUDENT GROUPS
  I also use the photos to organize my reading groups. These are just wallet sized photos, they come printed on one sheet with 4 photos. I use a push pin so the groups are flexible and easy for me to change. On this board I used a staple because the pins were falling off into the carpet... not a fun find when I am walking around cleaning up without shoes on!! (#truestory) 
   The students can do a quick glance to see what group they will be working in. We started calling our math centers whisper work too because the students loved the name so much. I wanted them to understand it is a talking time, because talking is learning, but it is also time for them to be working without disrupting others learning. It's a happy level of discussion that they have developed with practicing and routines during these work times. These are my most favorite parts of the day because I am able to have my small groups. *There are also times when students develop groups with their pictures!

PARTNERSHIPS
I use partnerships all throughout the day. These are also wallet sized photos with just a small magnetic tape attached to the back. I again can change the partnerships based on the task for the students. I love that the partnerships are visible throughout the room and I can quickly glance to see who should be working together. Some great times for partnerships include: independent reading, games, writing conferences, turn and talks... endless possibilities! 

This year I used Walmart for printing the wallet sized photos. I do love how the photo has an extra white tag so I am able to label each picture with the student's name. With other wallet sized photos you have to attach the picture to an index card for that extra room.

The photos have provided my students with ownership within the decisions made in our classroom. They also make the room OURS! When we have a new student, they light up when they get to add their name to the word wall. 

Do you use student photos in your room? I would love to know how you incorporate these in your room as well. Post a comment below. 

Monday, March 21, 2016

Get Passionate!


My husband gets excited when I talk about being passionate, then he realizes I’m talking about being passionate about books!  Isn’t that what we all want for all students?  We want them to get lost inside the pages, not wanting to put down their latest read.  We want them to share that excitement with others and talk about their new favorite book that we all must get.  It gets even better when they lift words from the pages of those books and share the quotes, so we can savor the words. 

We’ve put a couple of things in place at my school to foster and share this passion.  At any point during the day, you can see students clustered around a bulletin board looking over the latest book recommendations from their peers. We have a board where students can recommend books to each other by taking a slip and recording the title, author, and telling why they are recommending the book.  We post these on the bulletin board and encourage each other to check the board when we are ready for a new read!


Click here for a copy of this FREE book recommendation form.


Another way we share our passion is by displaying the titles of our current or favorite reads outside our classroom doors.  Each teacher has a clear pocket that hangs on a contact hook with an “Ask me about…” page inside.  We tuck in a picture of our book cover or the actual book itself.  This has encouraged student and staff conversation about books.  What more could you ask for?


A few ingenious folks have used this same “Ask me about…” idea to teach vocabulary words, generate student excitement for learning a foreign language with a new word each day, and encourage different ways to solve math problems.  I’m sure there are even more things you could do!


Click here for a copy of this FREE Ask Me About page!


To capture favorite quotes from our reading or our own creations that we pen (see Shelley’s post, "Eight Great Quotes" from February 15th, for some wonderful ideas), we’ve created another display.  This has been a great way to share the words that touch us, without interrupting instruction or reading time.  Students know they can write down their quotes and stick them in our basket to be shared during those filler moments like lining up for lunch or the few minutes before dismissal.  After our quotes are shared, they get posted on the board!


We want our students to read, read, and then read some more!  It is our hope that we are creating a passion that will last a lifetime!  


Click here for a FREE download of this goal setting sheet!

I would love to get some more ideas to keep the passion alive (remember, we’re talking about literacy!).  Comment and share!


Monday, March 14, 2016

How Hamburgers Can Help Students Write Outstanding Paragraphs


There’s no better way to get kids excited about learning than incorporating food.  We’ve all done it (or used it as bribery), right?  The second your students walk into your classroom and see all the delicious treats on display, their eyes light up and they instantly become little angels.  Every. single. one of them. Now you have them all right where you want them. (Even that very challenging special little *angel*...you know the one I’m talking about). 

The age-old idea of using a hamburger to symbolize a paragraph is genius!  It simplifies the task of organizing several sentences on the same subject...especially for beginning writers.  That is why I find myself using this idea every year to teach paragraph writing to my second graders.  

I was introduced to the hamburger paragraph idea by Melissa Forney in her book Primary Pizzazz Writing.  

You can pick up a copy HERE


She shares the idea of using cookies (yummy!), candy (keep talking!), and icing (say no more!), to build a cookie hamburger.  The ingredients are cheap, and it sure beats trying to figure out how to supply twenty greasy hamburgers for your lesson.  Yuck! 

To construct your cookie hamburgers you will need:
  • buns........two vanilla wafers
  • meat........a chocolate-covered mint patty
  • ketchup....red icing in the squirt can
  • mustard...yellow icing in the squirt can


You could even get a little crazy and add:
  • lettuce...flaky coconut (colored green with food coloring)
  • pickle ...small slice of green fruit roll-up


And voila!  You have yourself some delicious cookie hamburgers that will have your students drooling!  It’s the perfect visual aid to help them picture the structure of a paragraph.  

I introduced the idea of writing a paragraph by sharing this anchor chart:

Click here for a copy of this FREEBIE


The students and I discussed how the top bun and the bottom bun hold everything together.  The meat and the toppings are the most important part of the burger.  The more toppings (details) you add, the juicier your burger will be.   

Next, we turned to the experts and looked through several examples of nonfiction texts.  The students and I talked about how most writing we see is made up of paragraphs which organize the information for the reader.

One of the texts we looked at closely was Recess at 20 Below by Cindy Aillaud.

Get a copy of this book HERE


I photocopied one page out of this book (don’t worry one page is legal under “fair use”) so that the students could more closely analyze a paragraph.  We used the hamburger anchor chart as a reference to help us identify the top bun, bottom bun, and all of the juicy details.  The students color coded each part of the paragraph.


As we studied different types of paragraphs from our favorite authors, we discussed how they:
  • used the topic sentence to grab the readers attention
  • used the topic sentence to identify what the paragraph was about
  • used details and examples to teach about the topic
  • connected the conclusion to the topic sentence

Then we “shared the pen” to compose a paragraph together.  At that point, I knew my class was ready to tackle this on their own.

I had them each think about a topic they knew a lot about.  A topic they may even consider themselves an expert on.  After thinking aloud and sharing their thoughts with a partner, each child composed their paragraph on this organizer:
Click here for a copy of this FREEBIE

Now this is where the fun began! 

We assembled our cookie hamburgers (be sure to remind your kiddos NOT to eat them right away...it’s so tempting), and used them to point out each part of our paragraph.  The students couldn’t wait to share what they had written in their hamburgers!  


At last, after waiting SO patiently for the go-ahead, they got to eat their tasty treats!


Our last step, after conferencing and making any necessary corrections, was to rewrite our “hamburgers” into a real paragraph. 


I promise, this activity will be a HUGE hit that your students will be sure to remember!

Want to save this idea for later?  Add it to your Pinterest board by clicking the "pin it" buttons on the images in this post!

Bon appetit!

Visit me at Snips, Snails, & Teacher Tales

Monday, March 7, 2016

"I Cans" A Test Prep Craftivity


I know what you are thinking! You are thinking that it is only a few days before “THE TEST” and you don’t have time for a test prep “craftivity”. 

Trust me, I know all too well that high stakes testing season has begun! At schools all over the country students are diligently darkening bubbles with number 2 pencils and pounding away at computer keyboards as they practice for “the big test”.

I know exactly how it feels because I have been preparing students for “THE TEST” every year of my adult life. I know the drill! We practice, give pep talks, tell the kids that testing is their day to shine, and review, then review more. As teachers we tell our students not to stress, then we lay awake wondering if we really covered angle types sufficiently or if the students really got the author’s purpose lesson we so carefully crafted. 

Last year was a game changer for me. My own daughter took “THE TEST” (I blogged about it and wrote her a letter here, about testing here). While I believe in preparation and teaching kids to do their best, I also realized we need to do MORE to encourage and uplift our students. Especially our youngest learners. 

One of the major ways I do this is by making “I Cans”. It is a can shaped mailbox, covered with “eyes” and the letter “I”. Get it? It is an ”I Can”. (See the picture below.) 


Each morning before testing the students place the “I Cans” on their desk. It is then filled with encouraging messages. The students LOVE getting messages and it really helps take the pressure of the test off!

I send a template of the “I Can” messages home for parents to fill out a few weeks before the test. I also write an “I Can” message each day, I have the principal write a daily message, and I recruit other staff members to write messages (I have each person write 1 message that I copy it for the class.) If time permits I even allow kids to write message to one another (I check all messages and usually assign a few classmates to each child so no one is left out.) I like to get as many people involved as possible (special area teachers, custodians, or any person who has a connection to the students). 

The “I Can” messages really lighten the mood. After students have finished reading the messages I take up the “I Cans” because (GULP) nothing but the test book and a #2 pencil can be on their desk. I put the cans in an area of the room where students can still see them.


A parent recently told me her child saved all his “I Can” messages from 4th grade. She said that she found the strips of paper that had filled his can for years after he was in my class and that every time he read one he smiled. After hearing that I created a template for making “I Cans” and “I Can” messages. It is free (and will always be) free in my Teachers Pay Teachers. If you have a few minutes and some card stock paper this is a “craftivity” you students will never forget! Click on the "I Cans below to download this freebie!

 Click Here For You FREE Template!